
The Laser Rangefinder is required for capturing Above Ground Level (AGL) height measurements within the Sunsight AAT report. The Sunsight App (Android) is required to capture AGL with the Laser Rangefinder.

1. Secure the mount to the antenna
- Position the RF panel side mount as high as possible on the antenna to be aligned.
- Loop the side mount strap around the antenna.
- Run the strap through the side mount slot that correlates with the side of the antenna.
- Feed the strap end into the ratchet buckle and pull the slack from the strap.
- Use the ratchet buckle to tighten the strap. 2 – 3 clicks are usually sufficient to secure the mount. DO NOT OVERTIGHTEN!
- Ensure the mount sits square on the back and side of the antenna. Adjust the mount position as necessary to obtain correct contact.
2. Secure the AAT to the Side mount
- Secure the AAT to the mount by positioning the upper groove of the grip on the back of the AAT unit onto the upper lip of the mounting rail.
- Rotate the AAT down and onto the mounting rail. The user should feel AAT “click” into position.
- Tighten both thumbscrews securely
- Examine the AAT in the mount to ensure it is seated correctly. Be sure the AAT is mounted correctly and securely!
- Use the included tool lanyard to secure the AAT and AAT mount safely. Attach the lanyard to the AAT handle, then through the loop in the mounting strap, and then to a stable anchoring point on the structure being aligned.
- Verify that the two black antennas on the top of the AAT have a good view of the sky.
3. Capturing and Reporting Alignment Data with AGL Height
- Turn on the LRF using the bottom middle button (C).
- Press the upper right button to select settings.
- Select Bluetooth with the top middle red button.
- Press the + button to switch to the ON position and select. (Bluetooth will reset after each power cycle.)
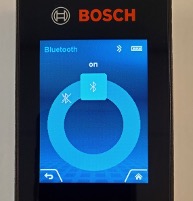
Bluetooth on
- Go to settings again and press the +/– buttons until Tool settings can be selected.
- Press +/ – buttons until Shutdown Time can be selected.
- Choose 10-minute Shutdown time (this will not change through power cycles).
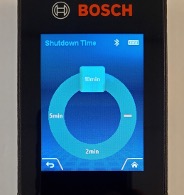
10-minute Shutdown time on
- Connect to the AAT in the standard way by powering on the AAT and connecting using WiFi or USB-C cable (see Quick Start Guide for detailed instructions). The WiFi connection must be made using the Android App for the Laser Rangefinder.
- On the AAT Home page select Cellular Alignment, then Snapshot / Measure.
- Scroll to AGL Height and press the three dashes under the Actual column.
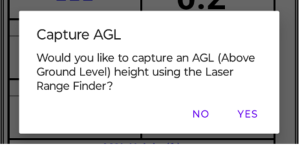
- When asked would you like to capture an AGL height, select yes.
- The Sunsight app will now search for the LRF.
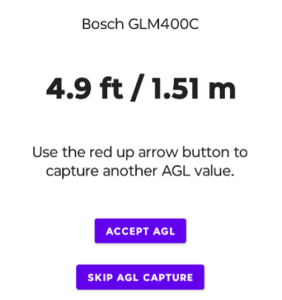
- Once the app connects with the LRF, the continuous measure setting is automatically changed to Indirect Height. (This setting will allow you to select a clearly visible area on the ground and not limit you to the ground directly below you to capture an AGL height.)
- Press the Red up arrow on the LRF to turn on the laser.
- Point the laser down to the base of the tower or nearest visible spot on the ground and press the red arrow again to capture AGL height.
- Steps above can be repeated until you are satisfied with the displayed AGL height.
- Press the “Accept AGL” button on the app.
- From there the selected AGL height will populate on the measure screen.
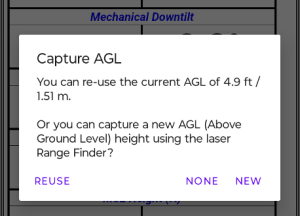
- You can press on the actual AGL height value again to Reuse, Delete (none), or Capture a new AGL height (New).
- Perform antenna adjustments to match desired alignment and save results.
- Once a snapshot has been accepted you will again be prompted to review your AGL options (Reuse, None, New) before moving on to photos.
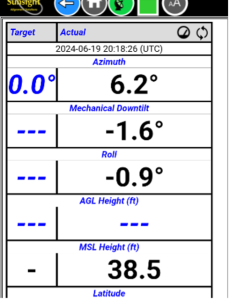
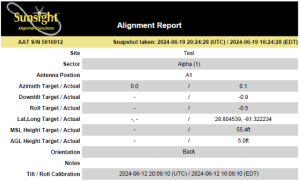
AGL in report example
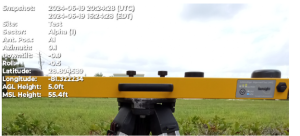
AGL embedded in photo example